Welcome to the first episode of my icon design series! In this tutorial, we’ll walk through the process of creating a sleek Game Controller icon. Let’s dive in!
What you’ll need:
-
an app for drawing icons, like Figma (my favourite), Framer, Sketch, Adobe Illustrator or Glyphs,
-
a 24px grid and a 2px stroke width set up in your design file
-
and a few minutes of your time.

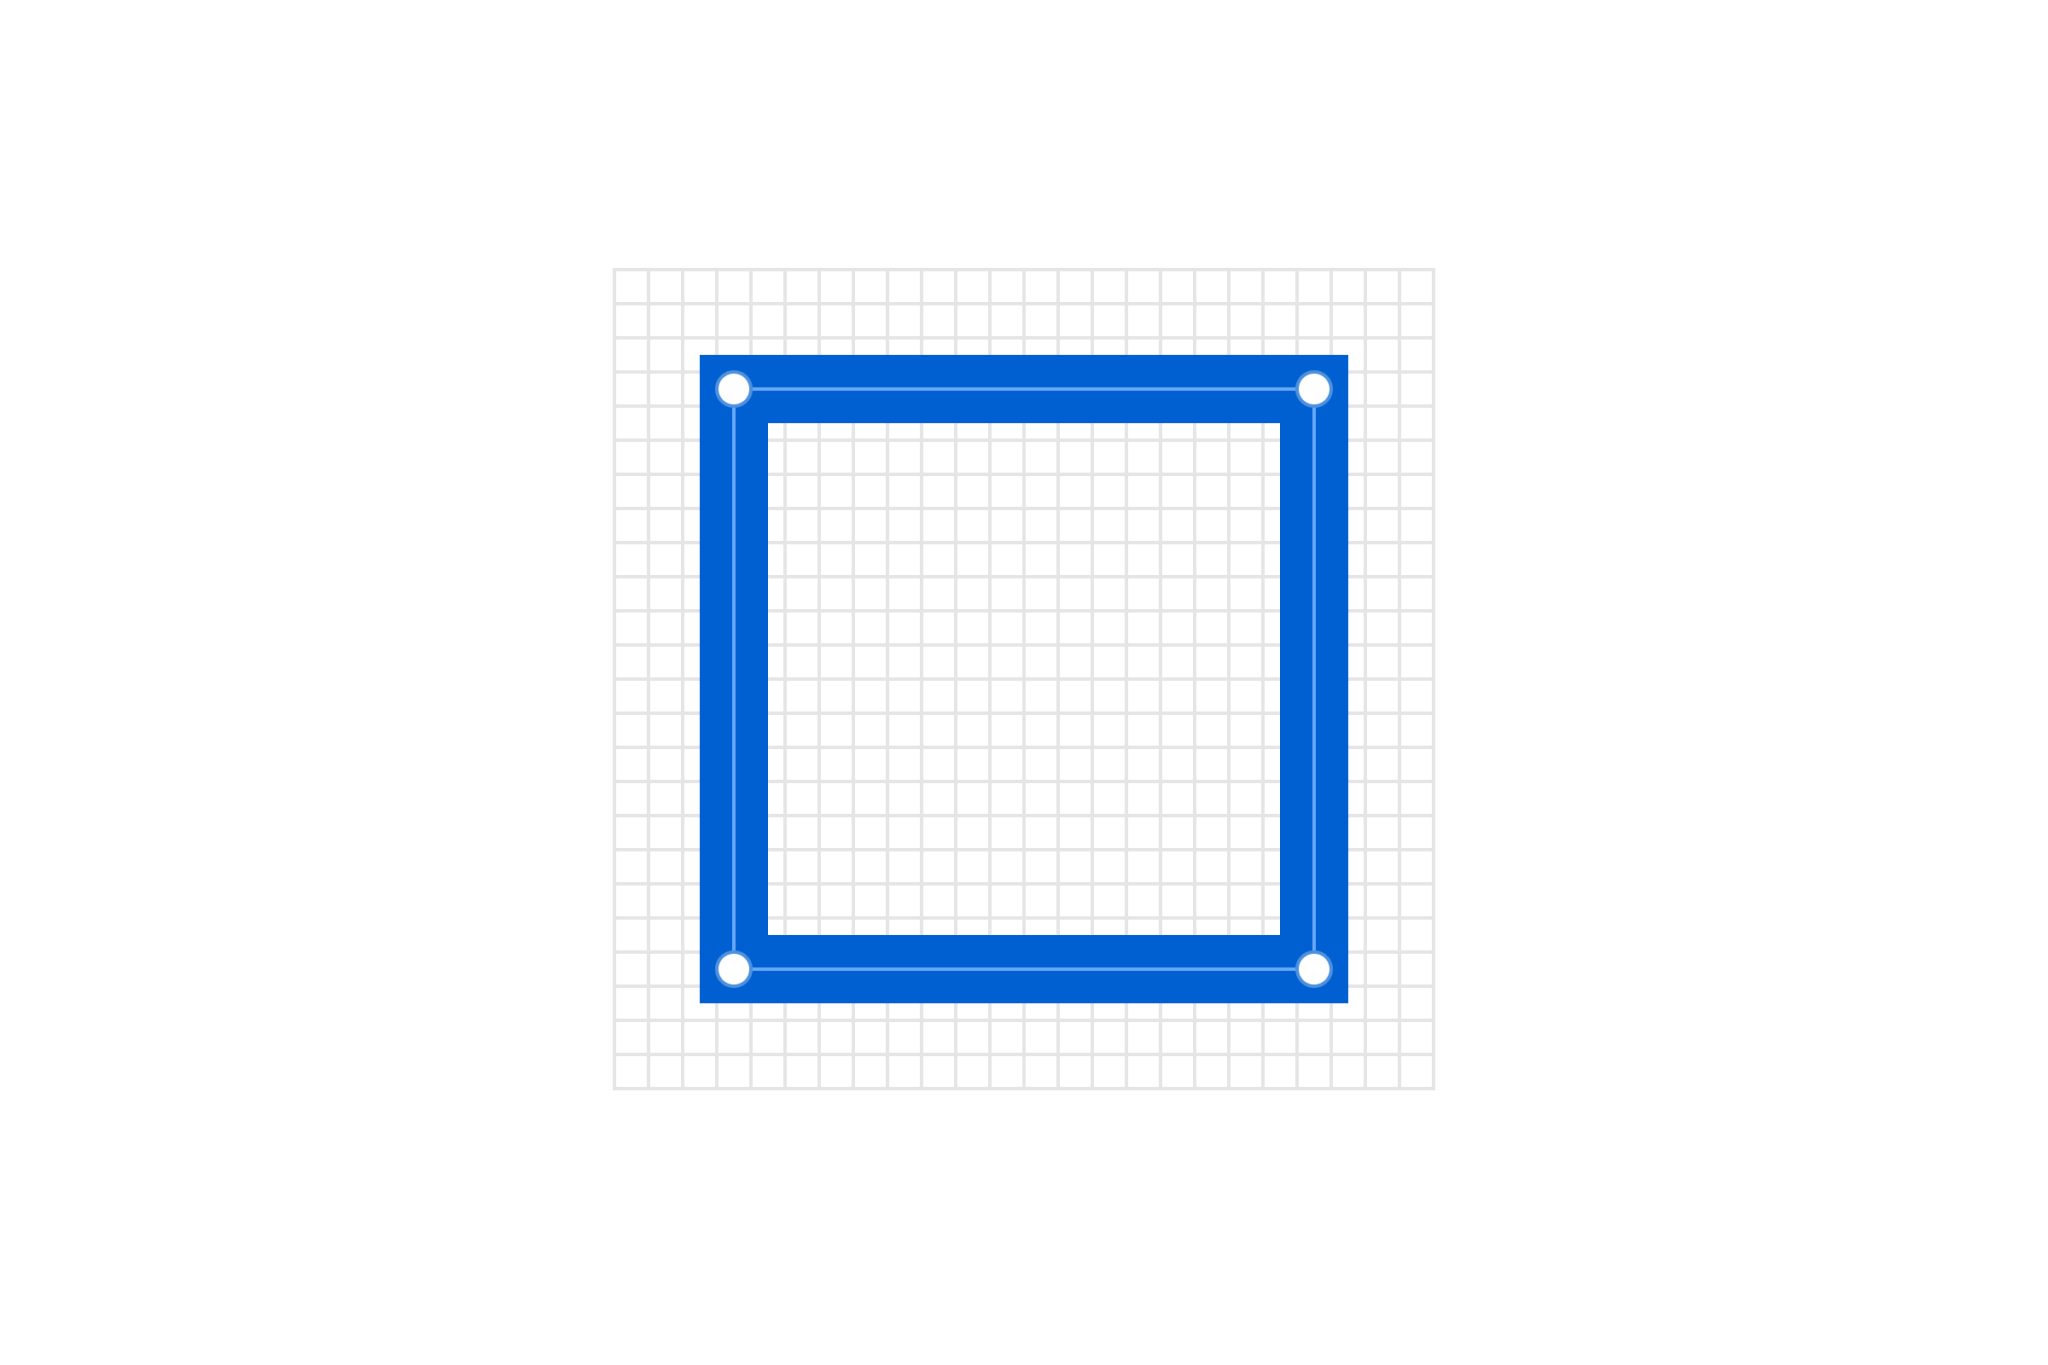
Step 1: Start with a Rectangle Shape
Begin by crafting a basic rectangle shape to serve as the foundation of your icon and its size.

Step 2: Refine the Shape
Gradually refine the rectangle to mimic the contours of a game controller.

Step 3: Soften the Edges
Soften the edges by rounding the corners, giving your icon a friendly and approachable appeal.

Step 4: Add Action Buttons
Complete the design by incorporating the distinctive action buttons typically found on a game controller. Pay attention to their placement and size for balance and coherence.

Congratulations! You’ve crafted your Game Controller icon. Take a moment to admire your creation.
I’d love to hear your thoughts on this tutorial! Reach out to me in messages. I hope time will allow me to enhance the tutorial experience by incorporating short videos to make following the steps even easier.

In other exciting news, I’m thrilled to announce the launch of my very own icon library — Amicons! Discover 500 meticulously crafted vector icons with a delightful and consistent aesthetic. Visit amicons.design to explore the collection.
But don’t wait too long! The sooner you jump in, the better the price. Plus, with every purchase, you unlock ✨ lifetime updates ✨.
